

Microsoft Azure Cosmos DB is a fully managed, NoSQL database for modern app development. It supports many open source APIs and SDKs for popular languages. In this tutorial, we will show you how to use Azure Cosmos DB to store and access data from an ASP.NET MVC application hosted on Azure.
How to Create an Azure Cosmos DB Account
To begin, sign into the Azure portal. Search for the term Databases and choose Azure Cosmos DB from the drop-down menu. Refer to the image below:

Next, click + Create to add a new Cosmos DB instance. See the image below for more:

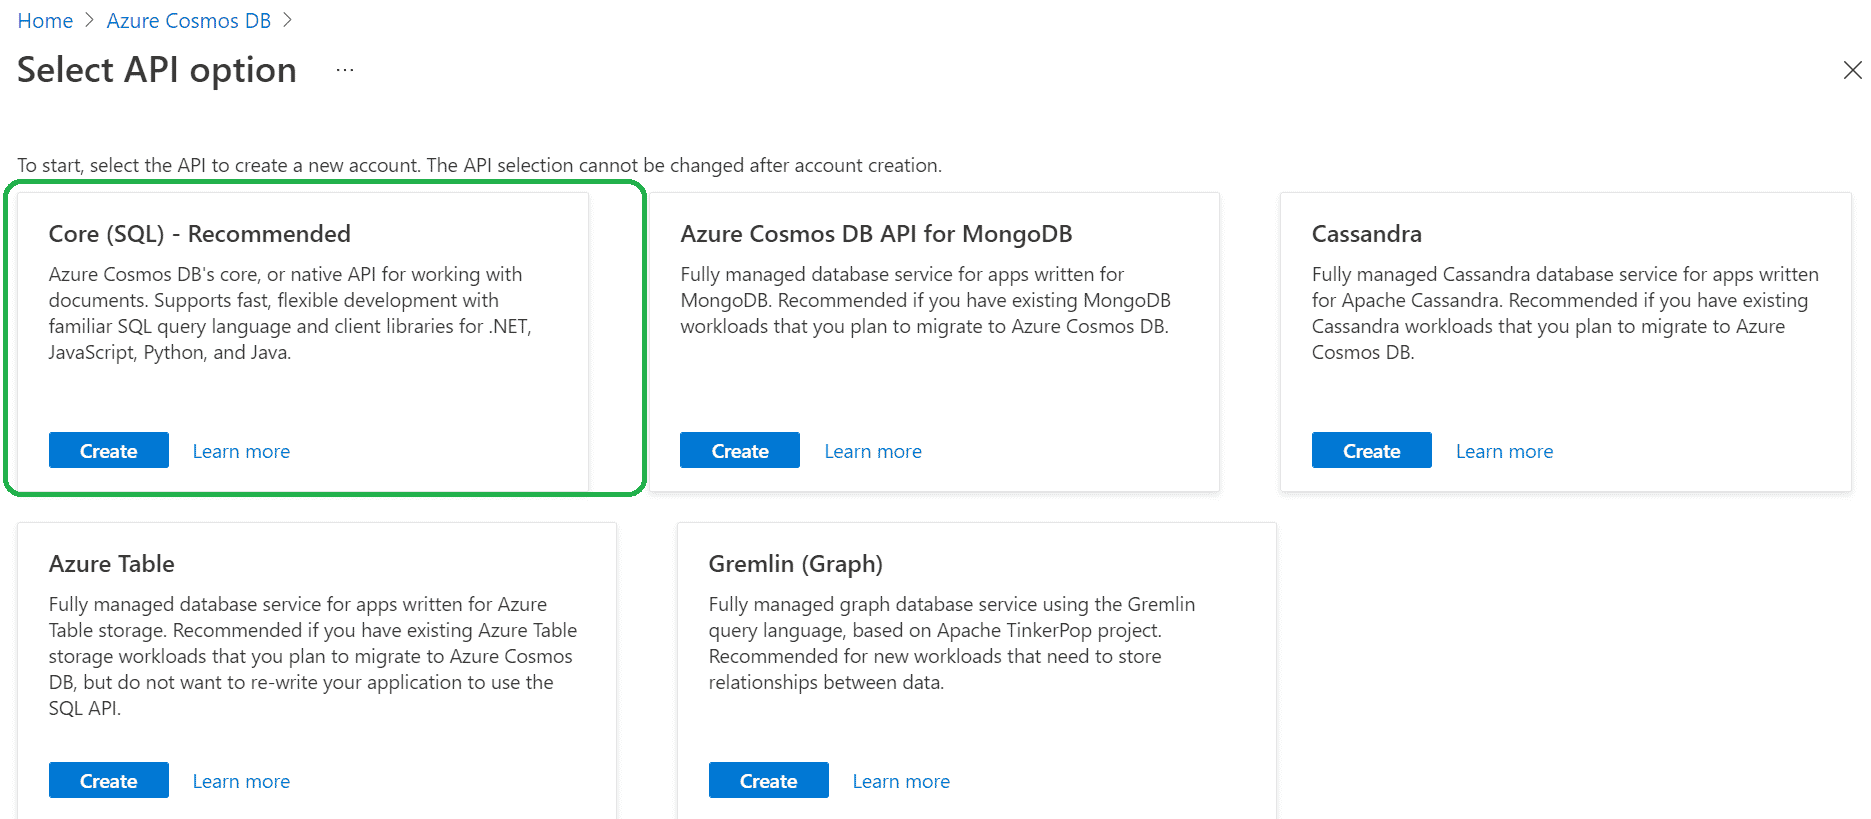
Azure Cosmos DB can be accessed by using five different APIs. The following are a list of API options available. After reviewing the list, select the default Core (SQL) option.
- MongoDB API
- Azure Table API
- Gremlin API
- Apache Cassandra API
- SQL API
On the Create Azure Cosmos DB Account page, enter the basic details for the new Azure Cosmos DB account. Refer to the figure below:

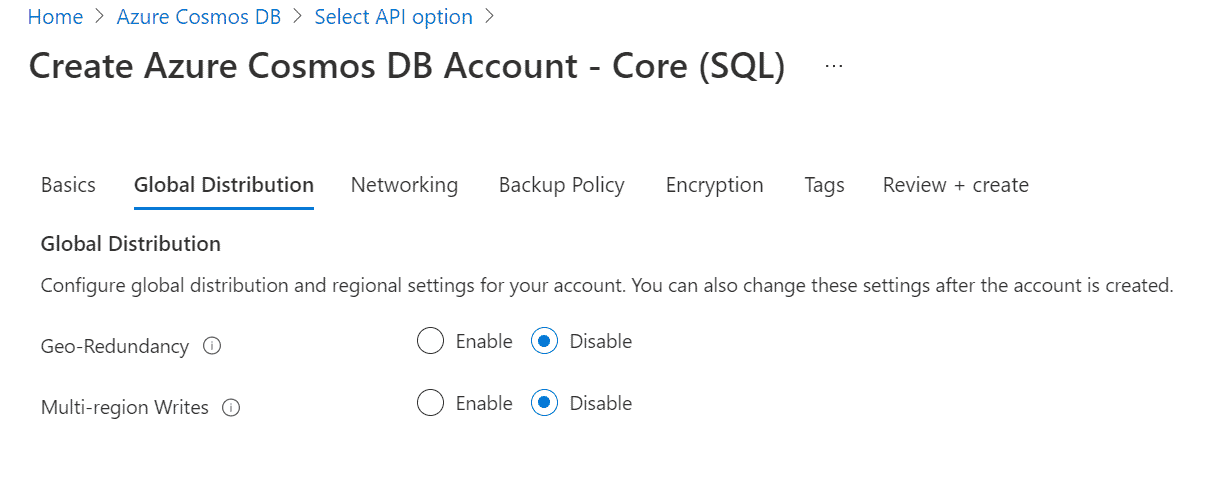
Next, in the Global Distribution tab, make sure both the options are disabled as depicted in the image below:
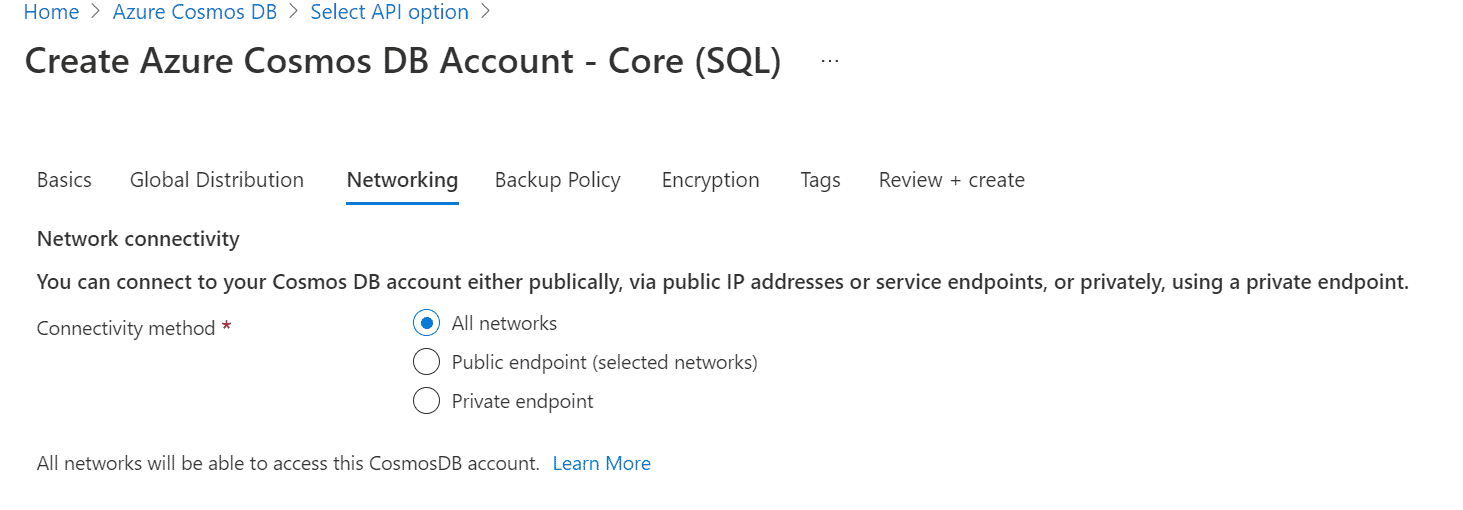
In the Networking tab, select all networks.
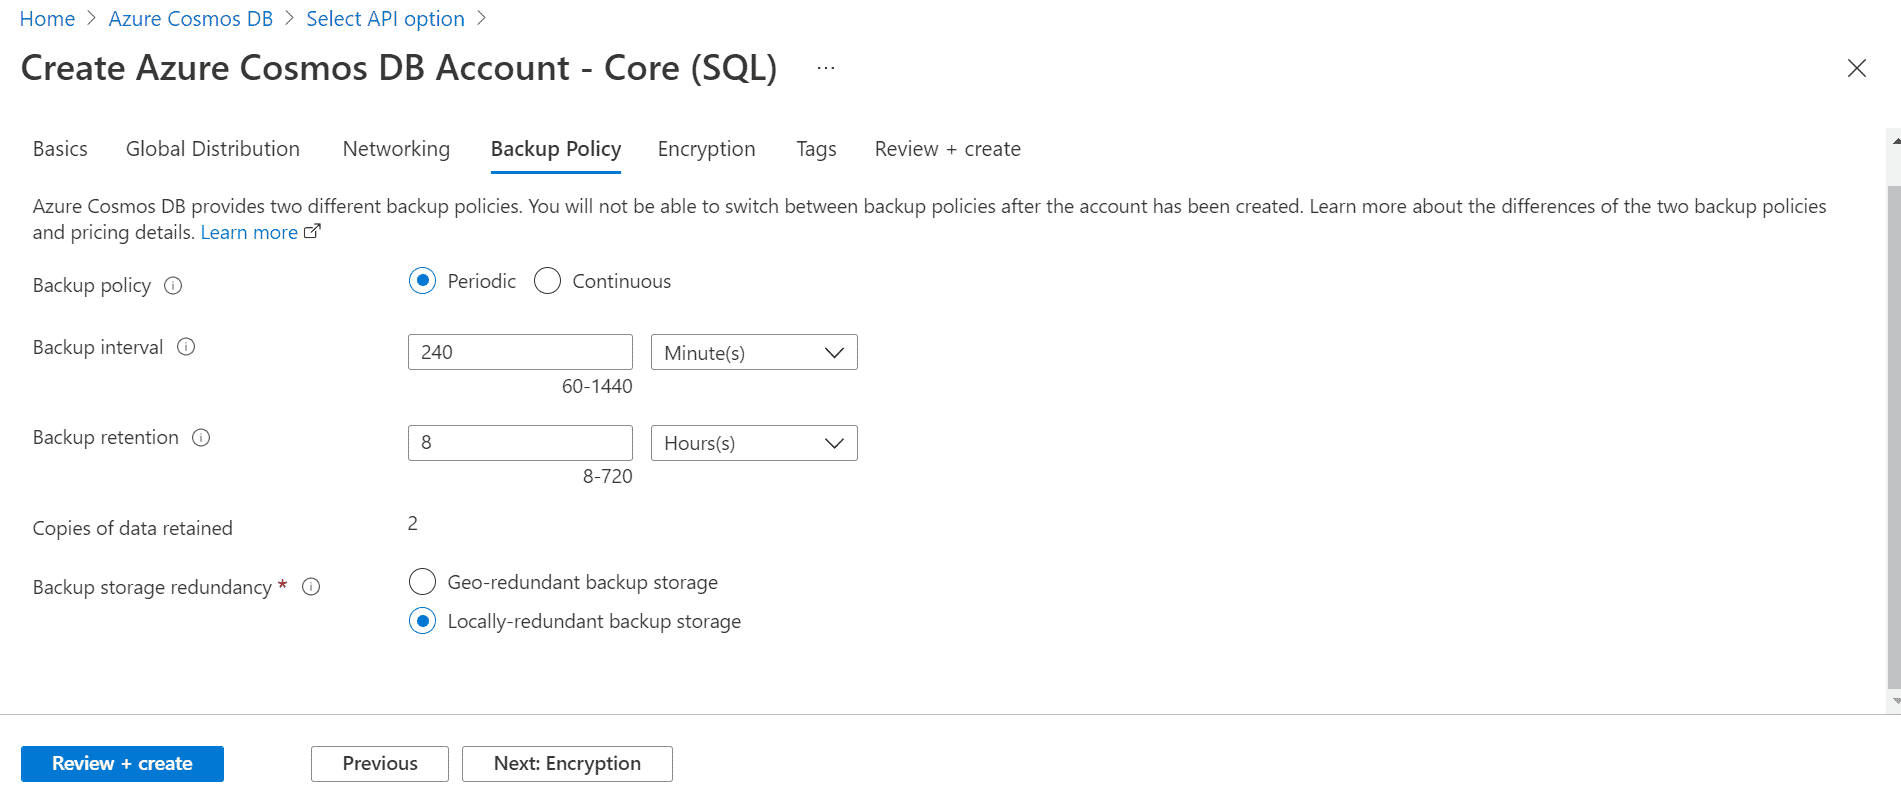
Next, select Backup policies.
Finally, review and create a new Cosmos DB instance, as shown below:

Once the instance is created, note the following keys. These keys will be required to connect Cosmos DB from the .NET MVC application.

How to Create .NET MVC Web Application
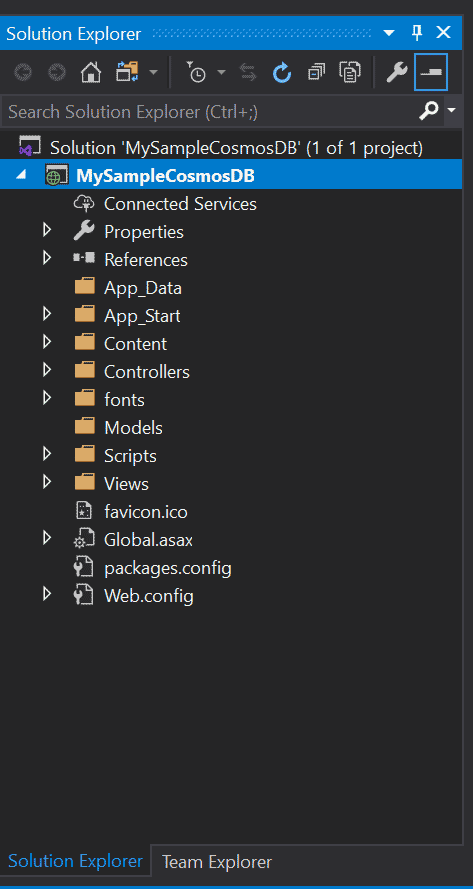
Open Visual Studio 2019 and create a new .NET Framework 4.8 MVC Web application, as depicted here:
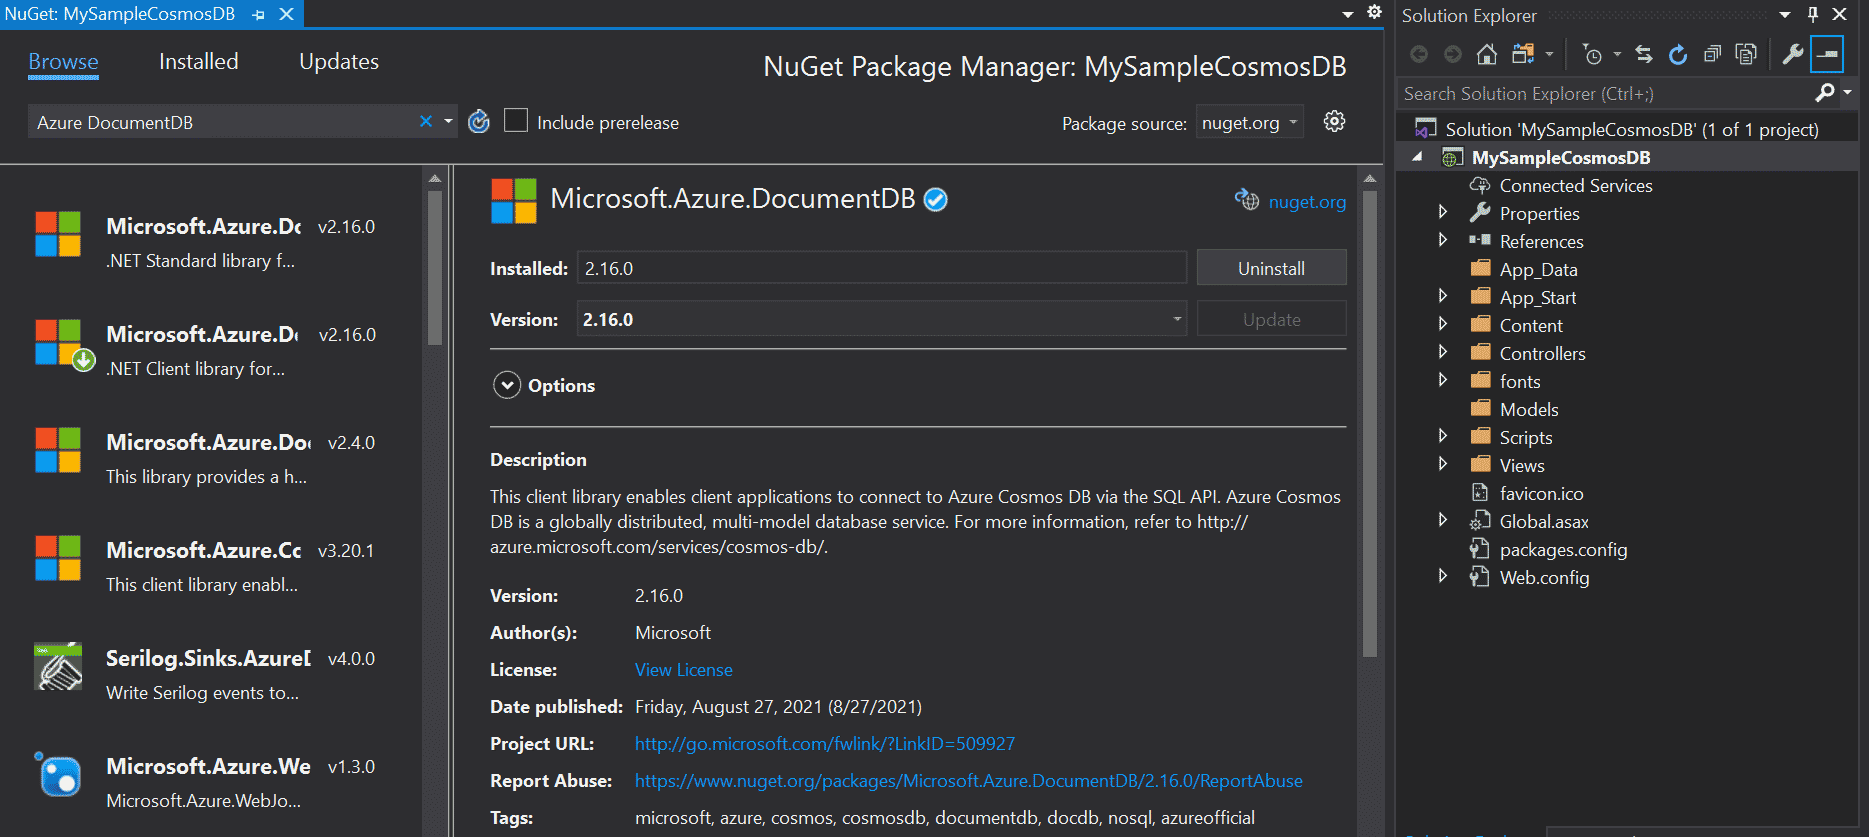
In the Solution Explorer, right-click on the new web application and then click Manage NuGet Packages. In the NuGet tab, click Browse, and type Azure DocumentDB in the search box. Next, install Microsoft.Azure.DocumentDB. See below:
Next, add the following Student entity class in the Models folder:
public class Student
    {
        public string Id { get; set; }
        public string Name { get; set; }
        public string Class { get; set; }
        public int RollNuber { get; set; }
        public int TotalMarks { get; set; }
    }
In the HomeController class add student Action
public ActionResult Students()
        {
            return View();
        }
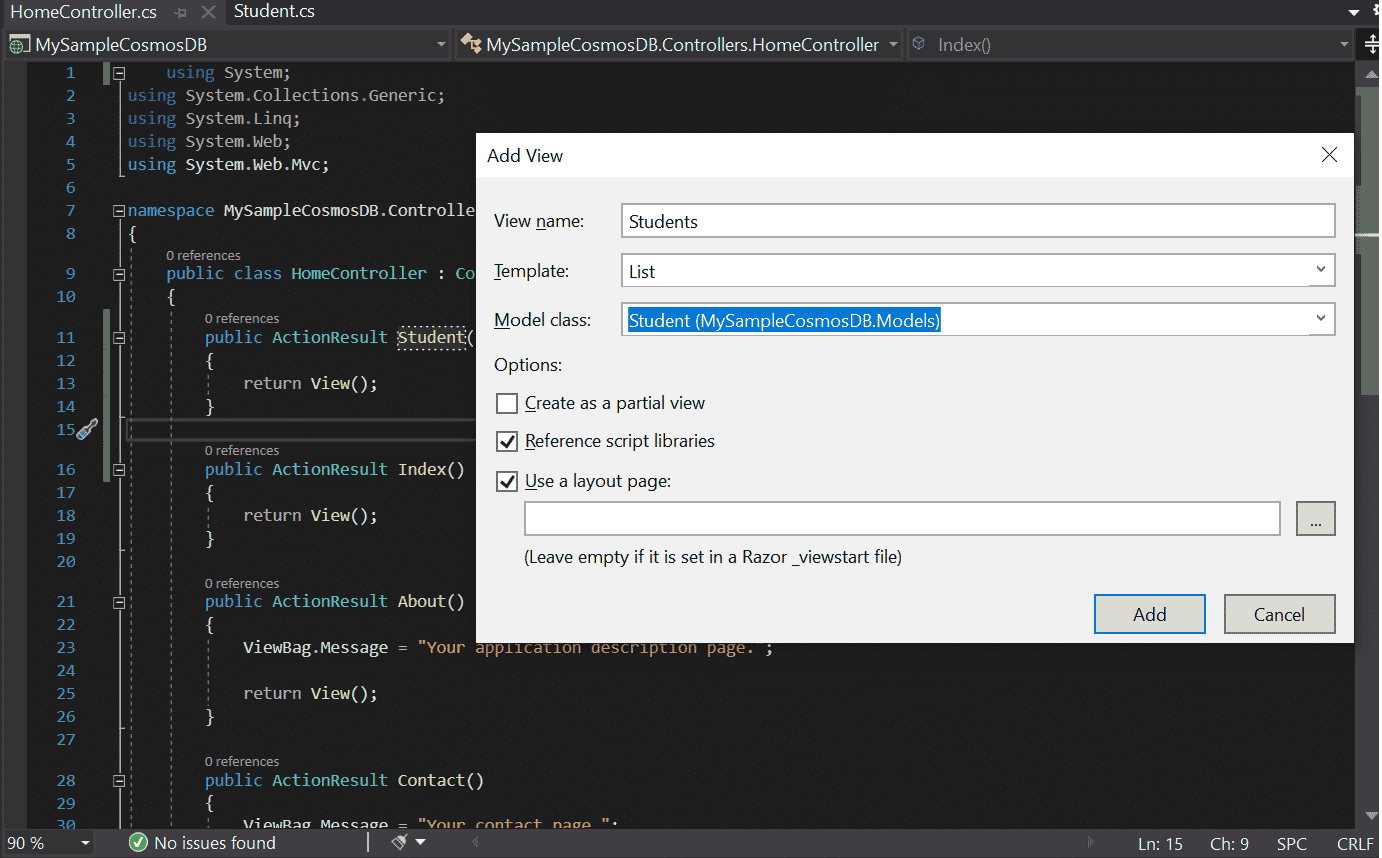
Then, we need to add a View to the student action, to display all students. Refer to the following figure:
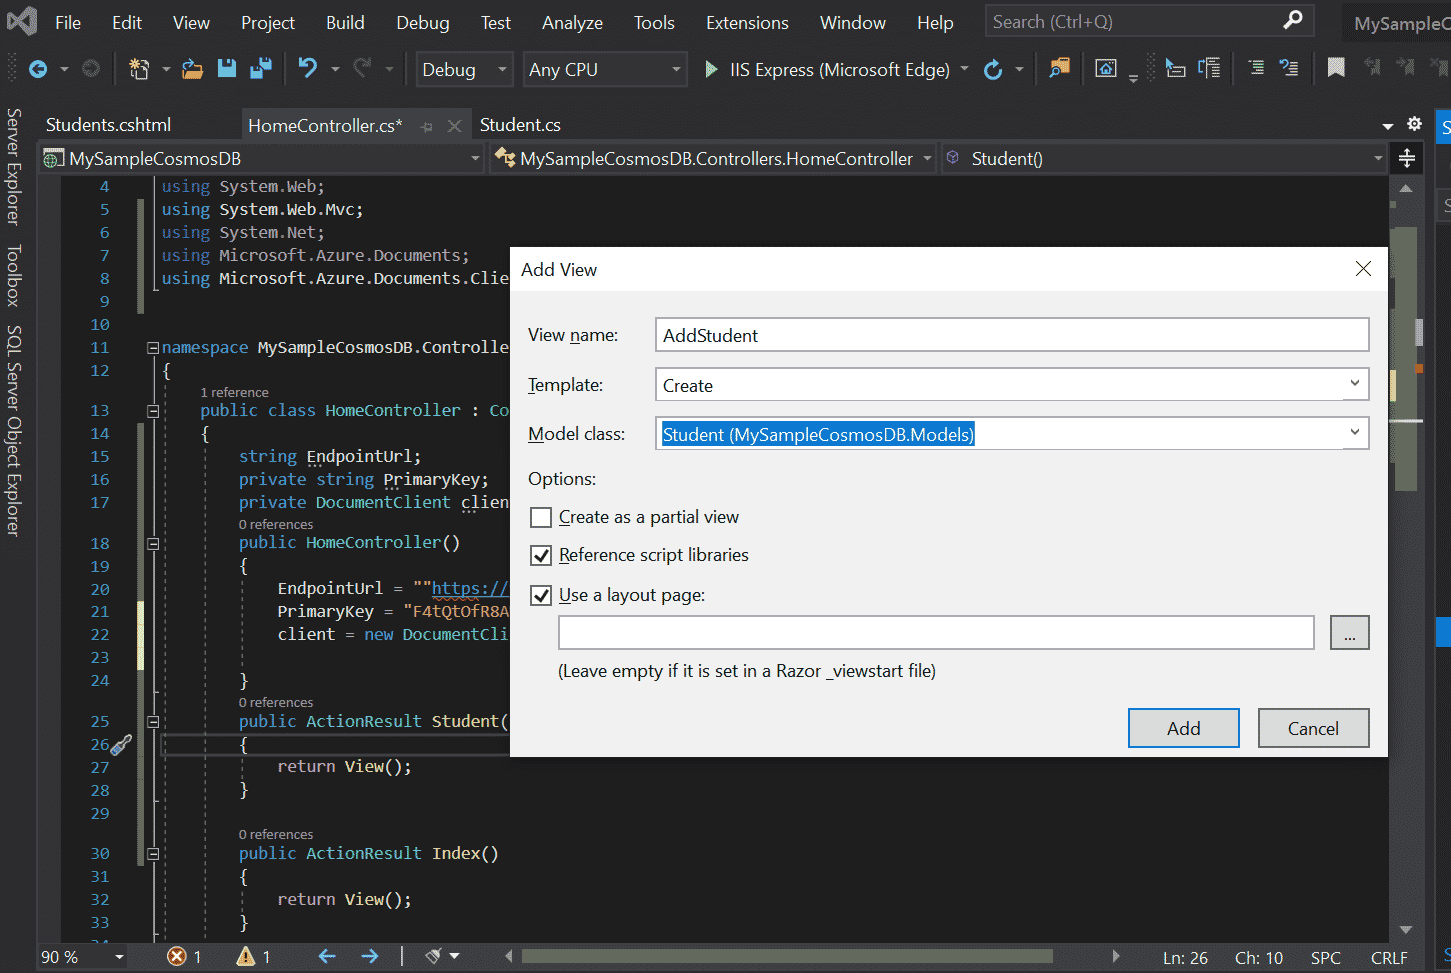
We need one more view for the add student action. See below:
Finally, add the following code snippet in the HomeController class to complete the implementation. The following implementation has code for adding, querying, and deleting Student objects. Cosmos DB endpoint URL and Keys are used in HomeController.
using System;
using System.Collections.Generic;
using System.Linq;
using System.Web;
using System.Web.Mvc;
using System.Net;
using Microsoft.Azure.Documents;
using Microsoft.Azure.Documents.Client;


namespace MySampleCosmosDB.Controllers
{

    public class HomeController : Controller
    {

        string EndpointUrl;
        private string PrimaryKey;
        private DocumentClient client;
        public HomeController()
        {
            EndpointUrl = "https://tapas.documents.azure.com:443/";
            PrimaryKey = "D56Y4tQtOfR8AWs6oy7E4ZjvQ3mr3R3OBxjqbL4EWQzoZQgKrZbyj1wT6ffdk6UjIjCQCwVRjp7vJcVQvwh8oVSJg==";
            client = new DocumentClient(new Uri(EndpointUrl), PrimaryKey);

        }
        public ActionResult Index()
        {
            return View();
        }

        public ActionResult About()
        {
            ViewBag.Message = "My application Sample description.";

            return View();
        }

        public ActionResult Contact()
        {
            ViewBag.Message = "Contact page.";

            return View();
        }
        public async Task Students()
        {
            await client.CreateDatabaseIfNotExistsAsync(new Database { Id = "NewID" });

            await client.CreateDocumentCollectionIfNotExistsAsync(UriFactory.CreateDatabaseUri("NewID"),
                new DocumentCollection { Id = "StudentsCollection" });


            FeedOptions queryOptions = new FeedOptions { MaxItemCount = -1 };


            IQueryable studentQuery = this.client.CreateDocumentQuery(
                    UriFactory.CreateDocumentCollectionUri("HRDB", "StudentsCollection"), queryOptions)
                    .Where(f => f.Salary >= 100);

            return View(studentQuery);
        }

        public ActionResult AddStudent()
        {
            return View();
        }

        [HttpPost]
        public async Task AddStudent(Student student)
        {

            await this.client.CreateDocumentAsync(UriFactory.CreateDocumentCollectionUri("NewID", "StudentsCollection"), student);

            return RedirectToAction("Students");
        }

        public async Task DeleteStudent(string documentId)
        {
            await this.client.DeleteDocumentAsync(UriFactory.CreateDocumentUri("NewID", "StudentsCollection", documentId));
            return RedirectToAction("Students");
        }
    }
}
}
Now, run your application and test it.