

Many developers ask a common question: how do I automate the process of adding APIs to Azure API Management from Swagger definition files? In this article, I will show .Net developers how to import an OpenAPI Specification backend API in JSON format into Azure API Management. Once developers import the backend API into API Management, the API Management API becomes a façade for the backend API. Developers can even customize the façade per the needs of their API Management.
Before you dive in, you may want to read our related article, Implement Swagger in ASP.Net Web APIs.
How to Create an API in Visual Studio
In this section, we will create an API using Visual Studio and we will name that simple API Authentication Service, incorporating a Swagger definition to it as depicted in the image below:
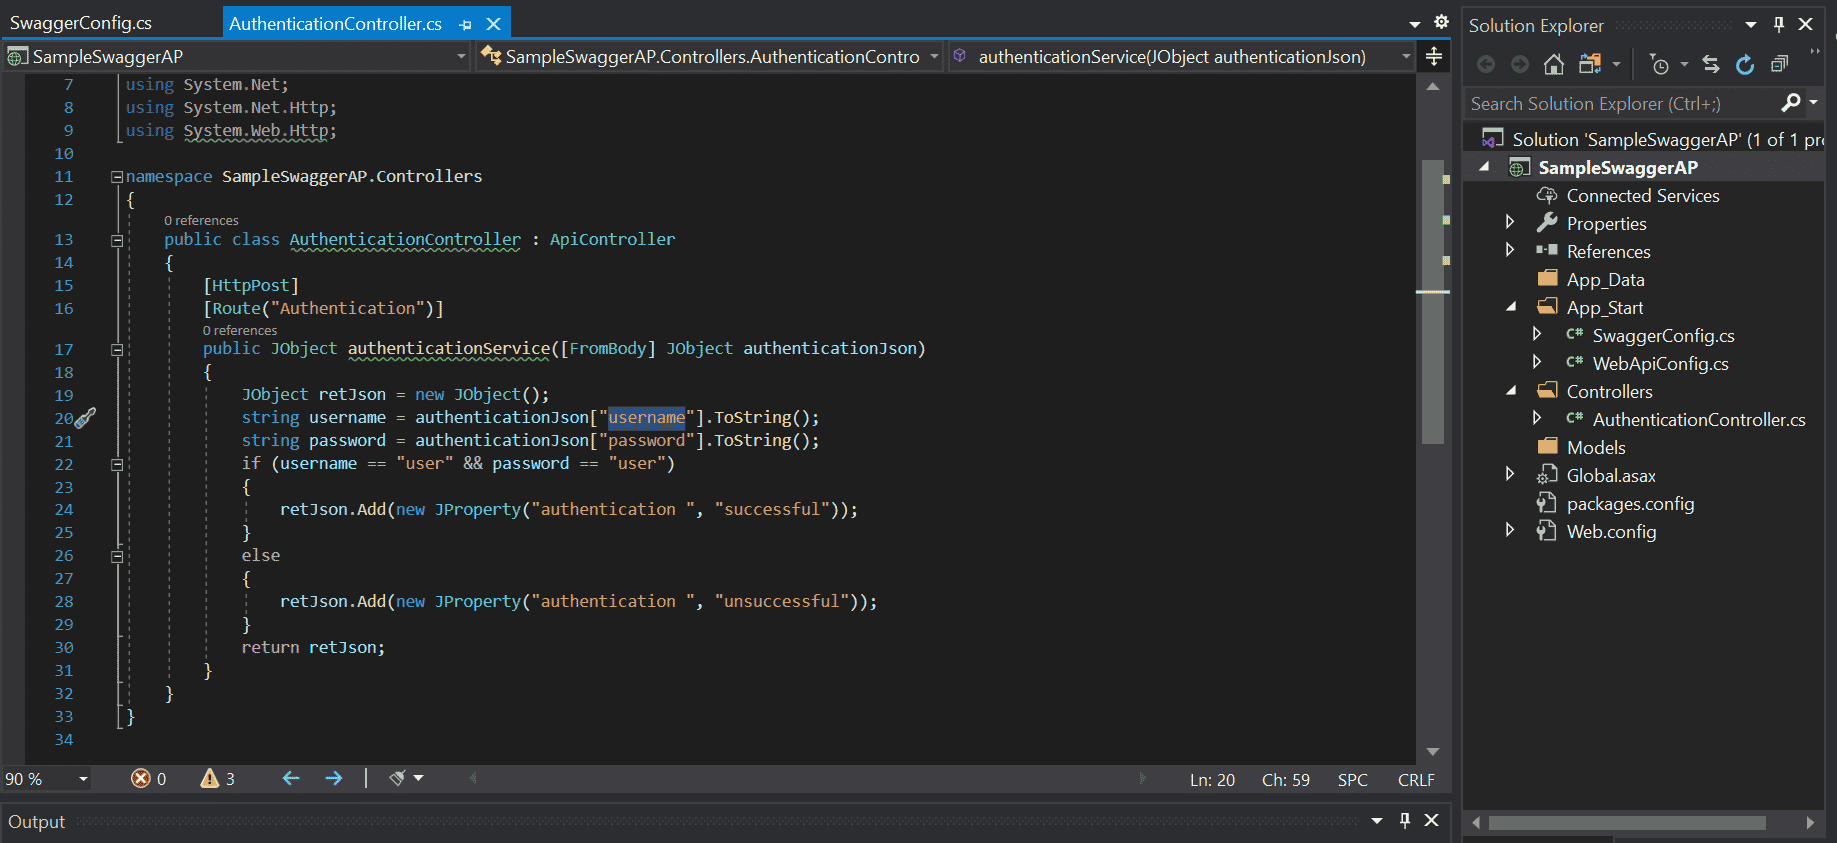
Figure 1 – New API Created in Visual Studio
Now, execute that code and display it in the browser.
Creating an API Definition
After creating the API and deploying it, we are ready to create an OpenAPI definition. I have used the Swagger Inspector tool with the API endpoint, that allows developers to create a definition for an existing API by documenting the requests you send to the endpoint. Using this tool, developers can specify the type of request, body, and other attributes. Swagger Inspector logs the details and lets the developer select the methods you want to include in your definition.
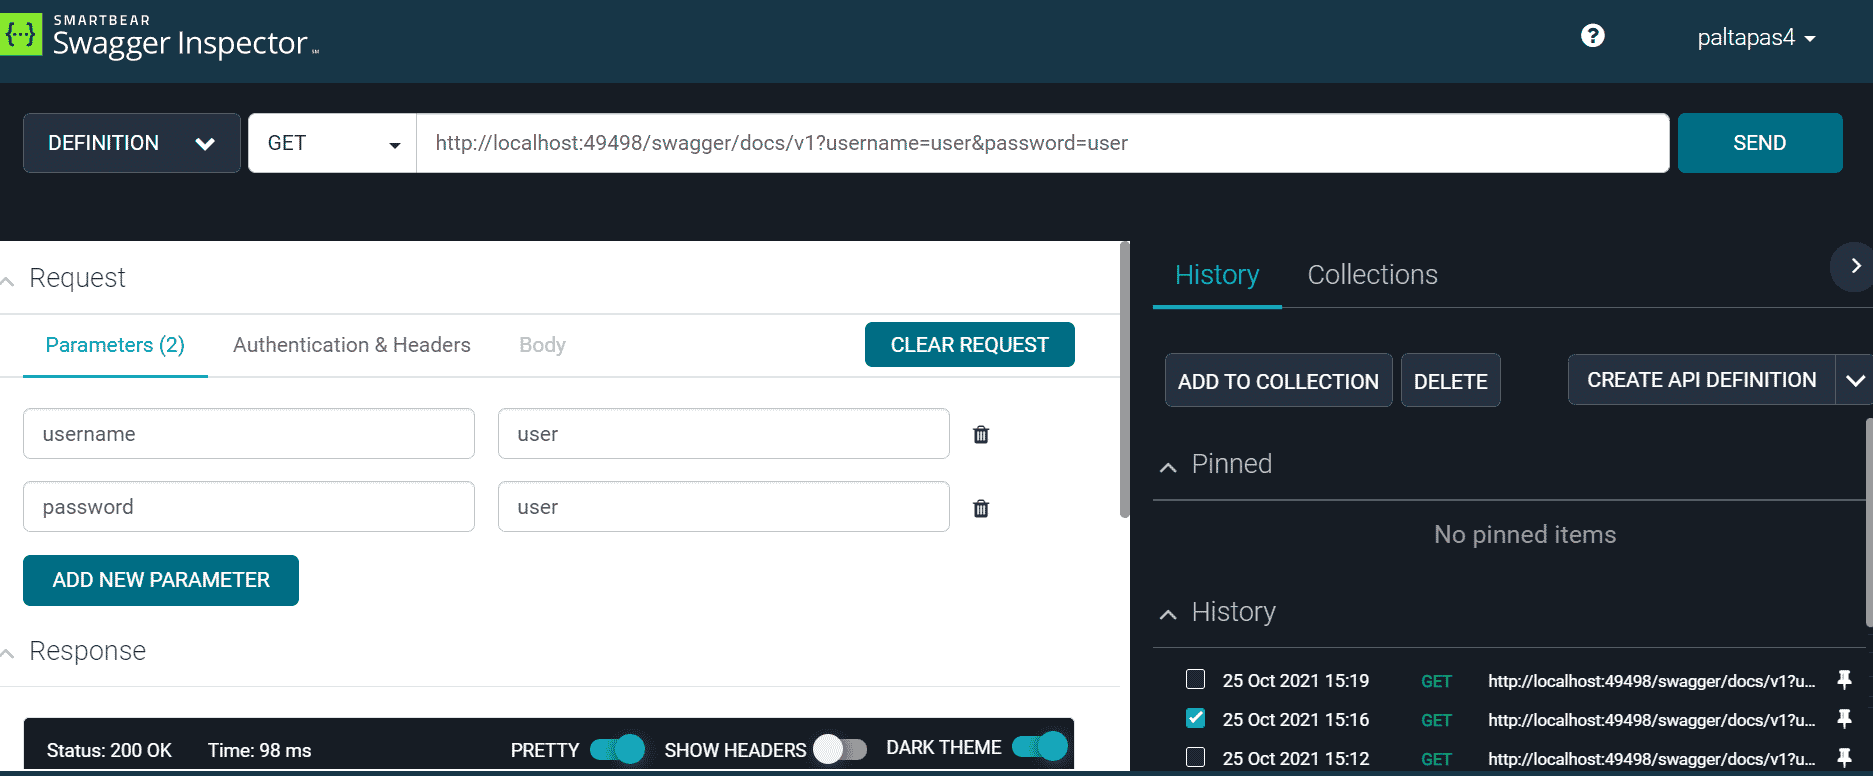
Figure 2 – New API Definition using Swagger Inspector
Next, click “Create API Definition”; it will redirect you to SwaggerHub, as shown below:
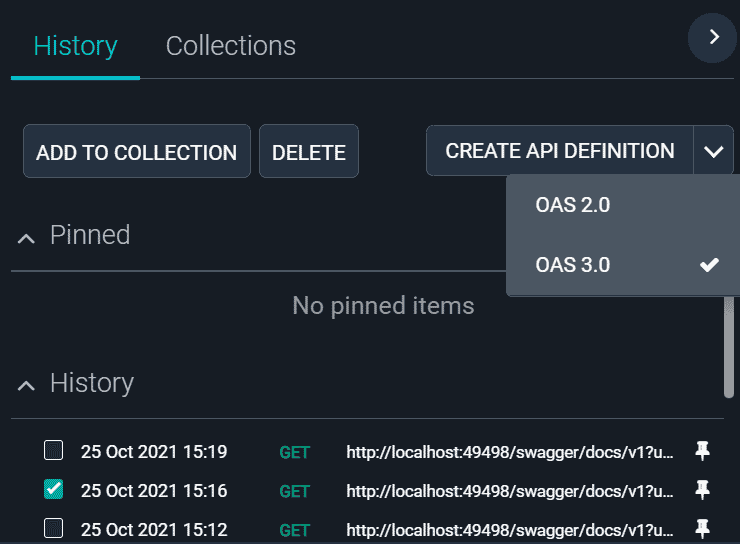
Figure 3 – Redirect to API definition SwaggerHub
Once the definition is created, view the details within SwaggerHub. This portal allows developers to review definitions, update descriptions and titles, and format and export definition files.
The image below shows my definition in SwaggerHub, alongside the method I defined.

Figure 4 –SwaggerHub API Definition
There are two different routes to import an API into API Management. Developers can import via a URL or file. In the following example of SwaggerHub, I have chosen the Export option and downloaded the following file:
openapi: 3.0.1
info:
  title: defaultTitle
  description: defaultDescription
  version: "0.1"
servers:
- url: http://localhost:49498
paths:
  /swagger/docs/v1:
    get:
      description: Auto generated using Swagger Inspector
      parameters:
      - name: password
        in: query
        required: false
        style: form
        explode: true
        schema:
          type: string
        example: user
      - name: username
        in: query
        required: false
        style: form
        explode: true
        schema:
          type: string
        example: user
      responses:
        "200":
          description: Auto generated using Swagger Inspector
          content:
            application/json; charset=utf-8:
              schema:
                type: string
              examples: {}
      servers:
      - url: http://localhost:49498
    servers:
    - url: http://localhost:49498
components: {}
Next, from the Azure portal, I created an APIM service, shown below for reference:
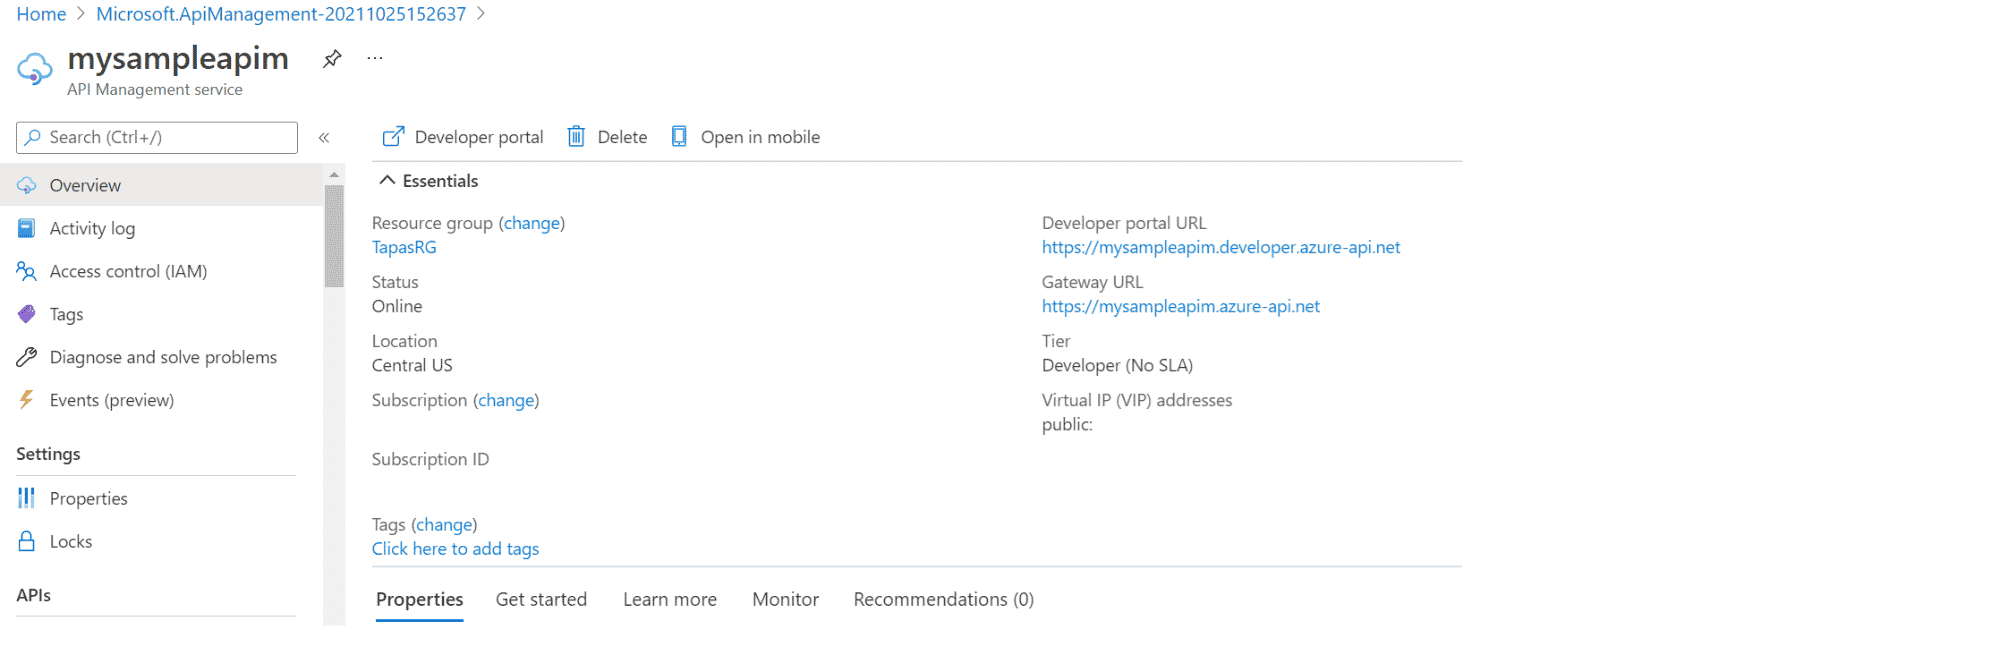
Figure 5 – Azure APIM
Next, choose Add API and select the OpenAPI option as depicted below:
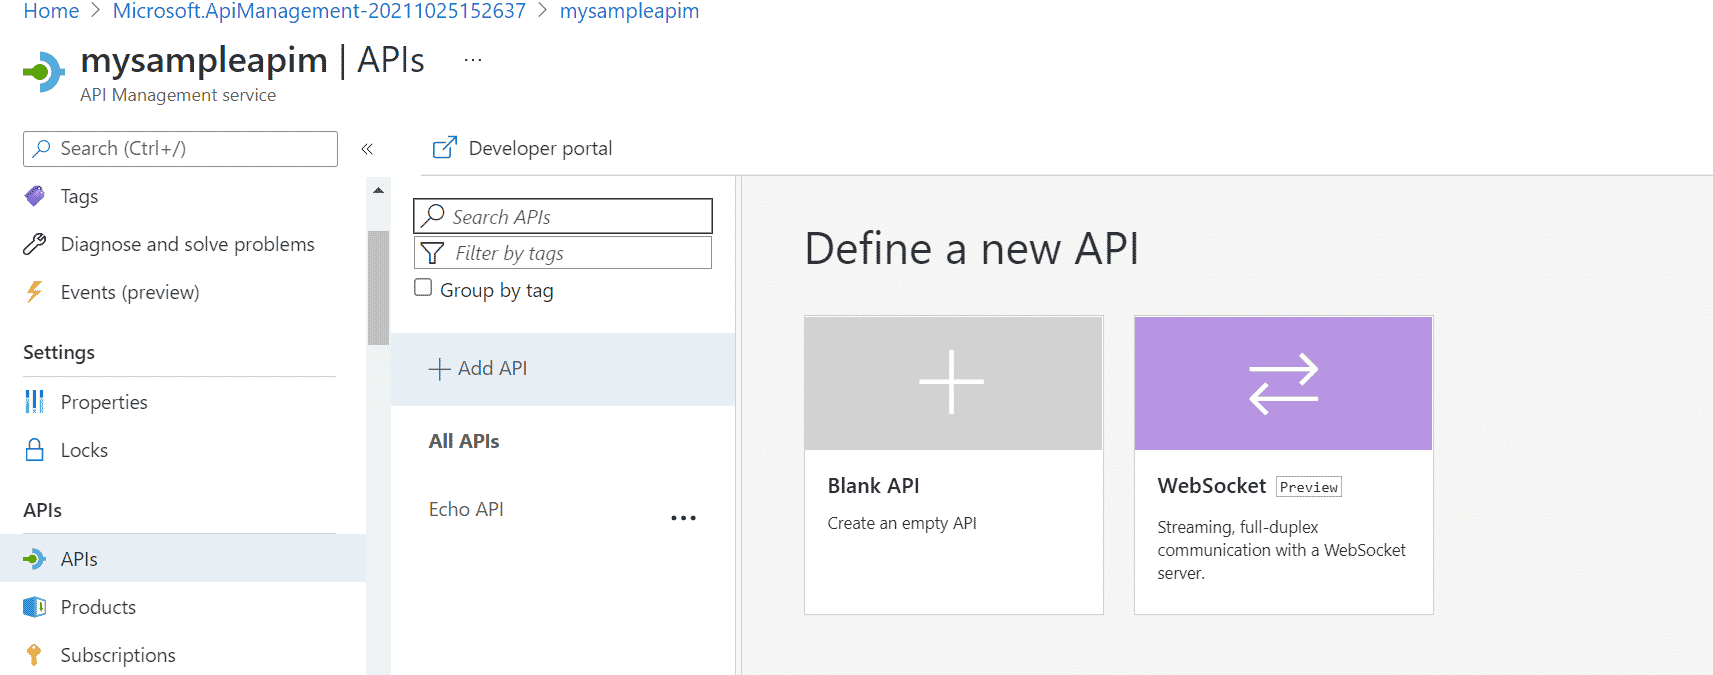
Figure 6 – Azure APIM Add API
APIM offers several options for importing APIs. I have selected the previously downloaded file as my definition file. The utility reads other details and populates the form automatically:
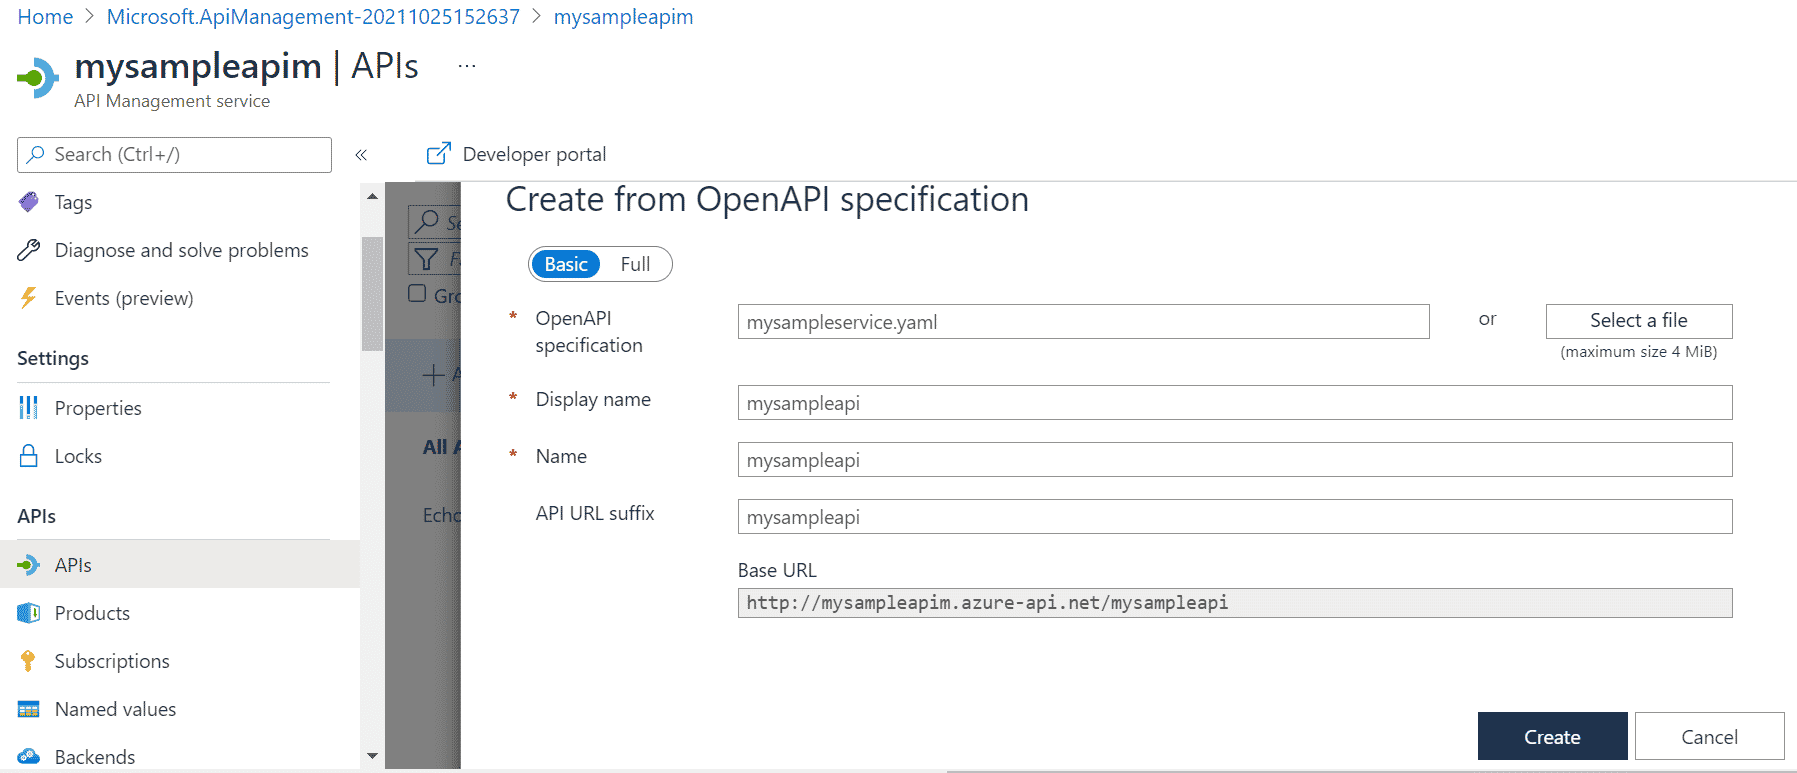
Figure 7 – Create OpenAPI Specification
Once the API is successfully imported, you can view the settings and verify everything is correct:
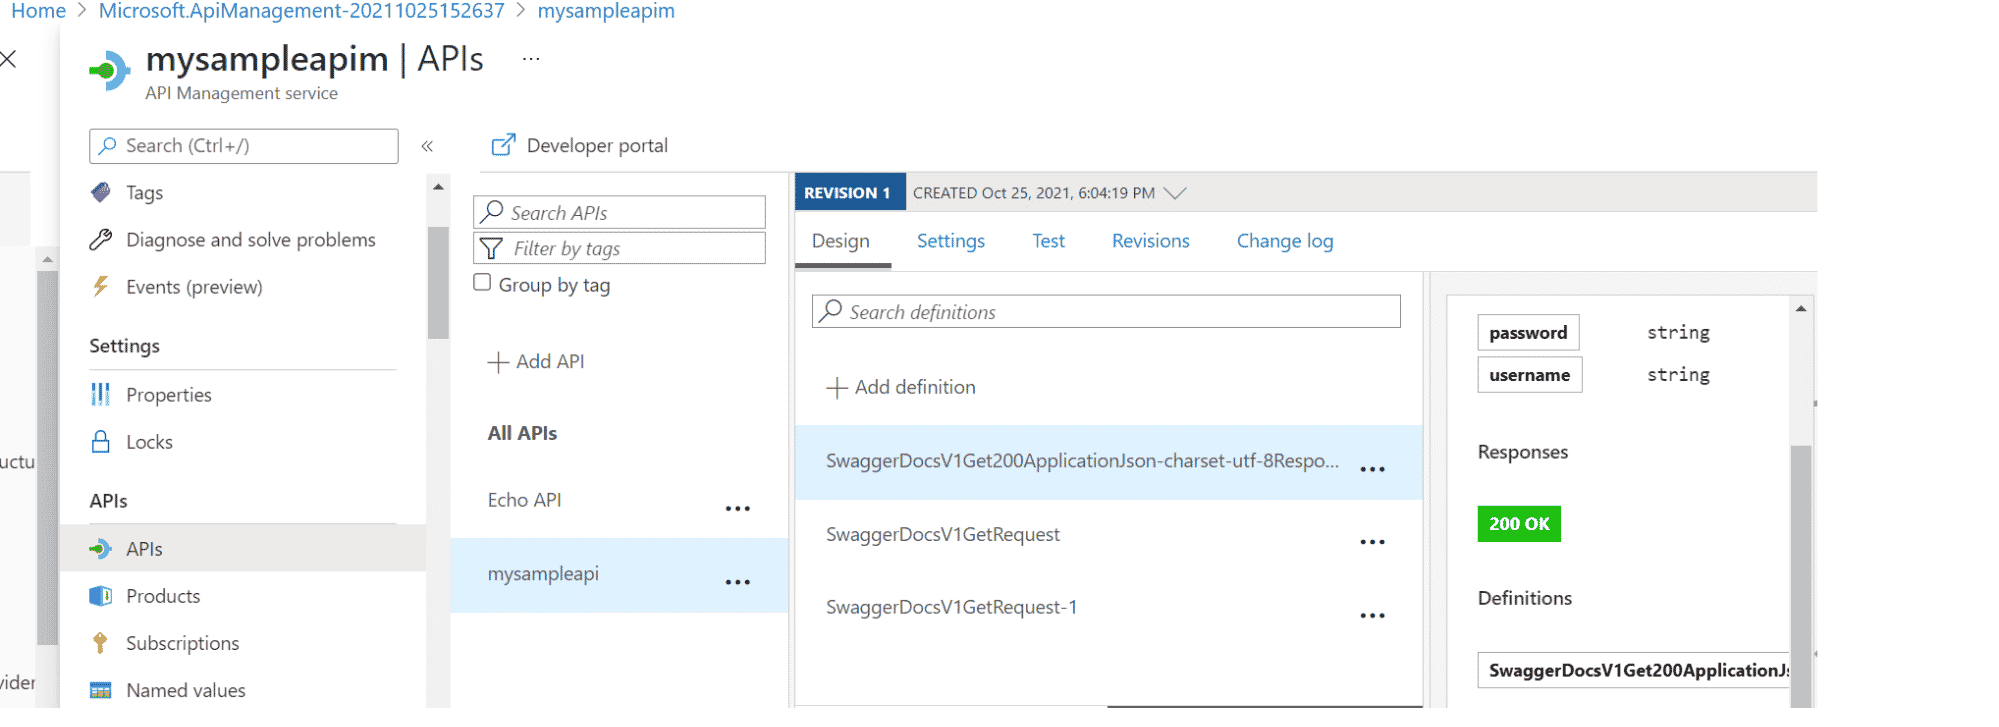
Figure 8 – API successfully imported
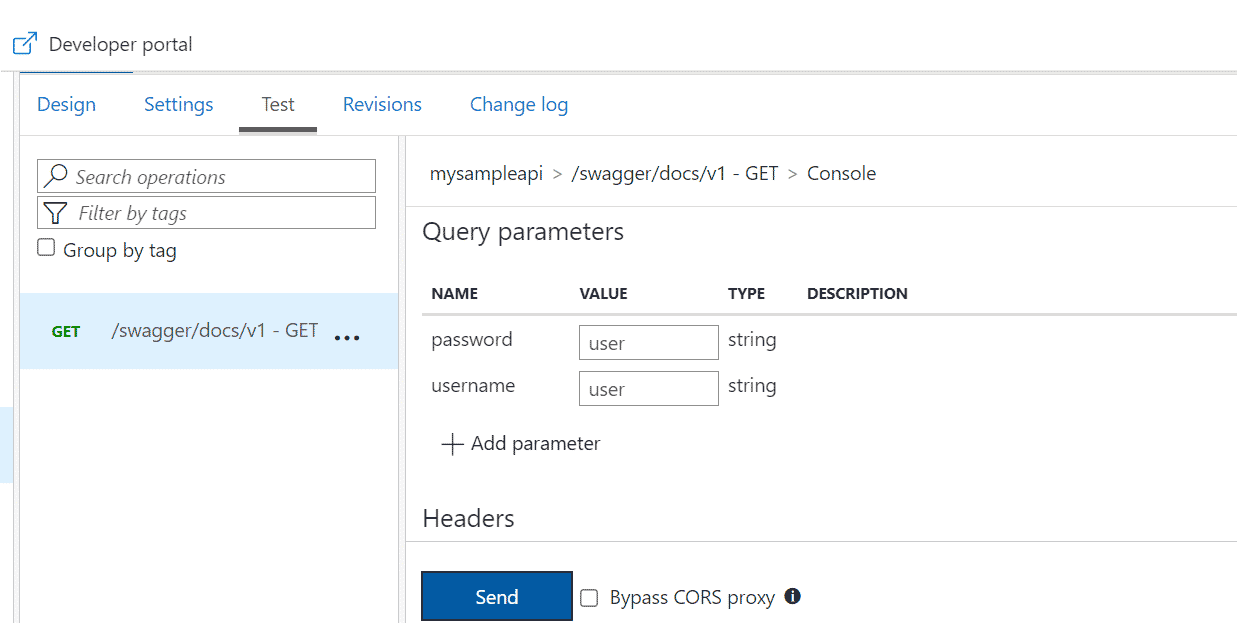
Finally, with the API imported, we can do some tests to confirm everything is working properly. Within the APIM portal, I can quickly test API method exposed, as follows:
Conclusion of Importing Swagger Files into Azure API Management Tutorial
As demonstrated in this article, leveraging Azure API Management for administration, developers can quickly import their applications and manage their systems. I hope this article will be helpful for developers looking to start importing Swagger definition files in APIM. Happy coding!